
*Challenge 3 – Paper Mache Blank (any shape or subject, usually craft store item)
- Theme – Self-Portrait (about you, present/past/future, serious or fun, etc…)
- Required material – Found Objects (junk drawer stuff related to theme/story)
First, here is my interpretation on the challenge (Paper Mache/Self Portrait/Found Objects) for your inspiration
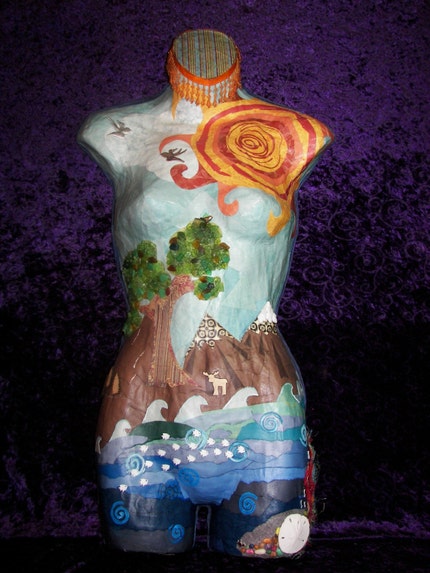
I made a paper mache art doll for my self-portrait. I thought for days on this challenge before I started this project, and even did an art journal page on it. I even started making a torso of my own body like a belly cast yet I just wasn't feeling it, and then Tania showed us her magnificient fairie torso below, and I took it as a sign that I ought to abandon my torso for now for the creative challenge of seeing what I could brainstorm up instead. And I love the new result.


Title "Artsy Scrappy Mama"
I decided my self-portrait would be a paper mache art doll because I didn't want to buy something, although I did look in a few stores. I wanted to actually make something and get my hands dirty, yet actually I wore "kitchen gloves" for the messy part! The wire mesh for the dress is no accident, I want you to see through it, to see the body has vintage sewing pattern tissue paper on it. I also wanted to attach items to the dress so this wire worked great, it is called "WireForm by Paragon" or "WireMesh by Paragon" depending on whether you want copper, brass, or aluminum diamond. Pam asked me what her name is, and I decided to name her "Artsy Scrappy Mama" because I wanted to show you a self-portrait of me in my studio, which is painted yellow, where I am happy and thriving.
The items on her dress include a cupcake charm (!!!), a handmade rose (tutorial coming soon), a deer brad because I see deer in my neighborhood all the time, a heart brad, an imagine charm for creativity and a nod to John Lennon, and a pin I saved from a trip to Toronto.
My technique: I wanted to use things that were on hand for paper mache. Make note of everything I recycled!
- The doll body was constructed from a toilet paper roll for the torso,
- and a wad of newspaper rolled into a ball for the head,
- taped together with masking tape.
- I used straws for the arms and legs,
- I punched a hole into the body for the legs and arms with my Crop-a-Dile
- Instead of using newspaper for paper mache, I used vintage music paper, vintage sewing patterns, and vintage book pages
- I made a 1-part flour to 1-part water mixture for the paper mache glue, and let each layer dry overnight
- The eyes and mouth were made on Claudine Hellmuth’s Sticky Back Canvas, cut out and applied
- The background behind her is also paper mache, made on a cardboard mailer. The newspaper article is about me, written several years ago, an interview I gave on hybrid scrapbooking when I was Creative Editor of Scrapbook Dimensions Magazine
- For her hair, I took 10 thin strips of fabric, tied a smaller strip of fabric around them at the top, then adhered one end at the crown of her head. I repeated this about 15 times. Then I tied various floral charms and beads to her hair.
Supplies: toilet paper roll, newspaper, masking tape, straws, vintage music paper (PERSONALITY), vintage sewing pattern(PERSONALITY), vintage book pages (FOUND at antique store), Claudine Hellmuth Sticky Back Canvas Paper, Hambly Transparency, pop dots, various fabric strips for hair, Prima flowers, fake eyelashes (FOUND in my cabinet), wire mesh (FOUND), ArtGirlz cupcake/imagine/feet charms (PERSONALITY); Art Matters Pin I saved from Toronto Museum (FOUND & PERSONALITY); chandelier crystal from flea market (FOUND); feather; brads; twist-ties (FOUND); Hard Rock Cafe stir stick (broke stick off) (PERSONALITY), binder clip (FOUND), chair, misc charms and beads, newspaper article (PERSONALITY)
Tools used: Martha Stewart Butterfly Punch; GlimmerMist by Tattered Angels Mist and Screens; Punchella; Acrylic Paints; Stickles glitter glue; Copic marker; oil pastels; water, flour, gloves Please see the forum for further tutorials on my paper mache art doll!
NOW IT'S YOUR TURN!
*Challenge 3 – Paper Mache Blank (any shape or subject, usually craft store item) - Theme – Self-Portrait (about you, present/past/future, serious or fun, etc…)
- Required material – Found Objects (junk drawer stuff related to theme/story)
1. You must leave a comment here on this blog post (not my blog) with one word that describes YOU
2. You must incorporate a paper mache (papier-mâché) form (any shape or subject) in your project that is pre-made or that you make (allow overnight dry time between layers)
3. You must use the theme Self-Portrait (about you, present/past/future, serious or fun, etc…) 4. You must use Found Objects/Junk Drawer Stuff related to theme/story(such as trinkets/baubles/pieces/charms/hardware you find/collect or purchase at scrap/stamp stores, flea markets, etsy, antique, etc.)
5. Upload Your One Photo, yes, ONE Photo, of Your Project to Our Project 52 Gallery by November 21, Midnight Pacific Time (time zone converter) If you have additional photos, link to them in the description from either your blog or from photobucket.com
6. FINAL RULE: You must post a link to your project in the gallery before November 21st Midnight to our Challenge #3 thread in the forum - don't forget to do this!
CONGRATS! YOU ARE ALL WINNERS TO ME IF YOU COMPLETE THE
CHALLENGE!
Additional Thoughts and Notes For Inspiration
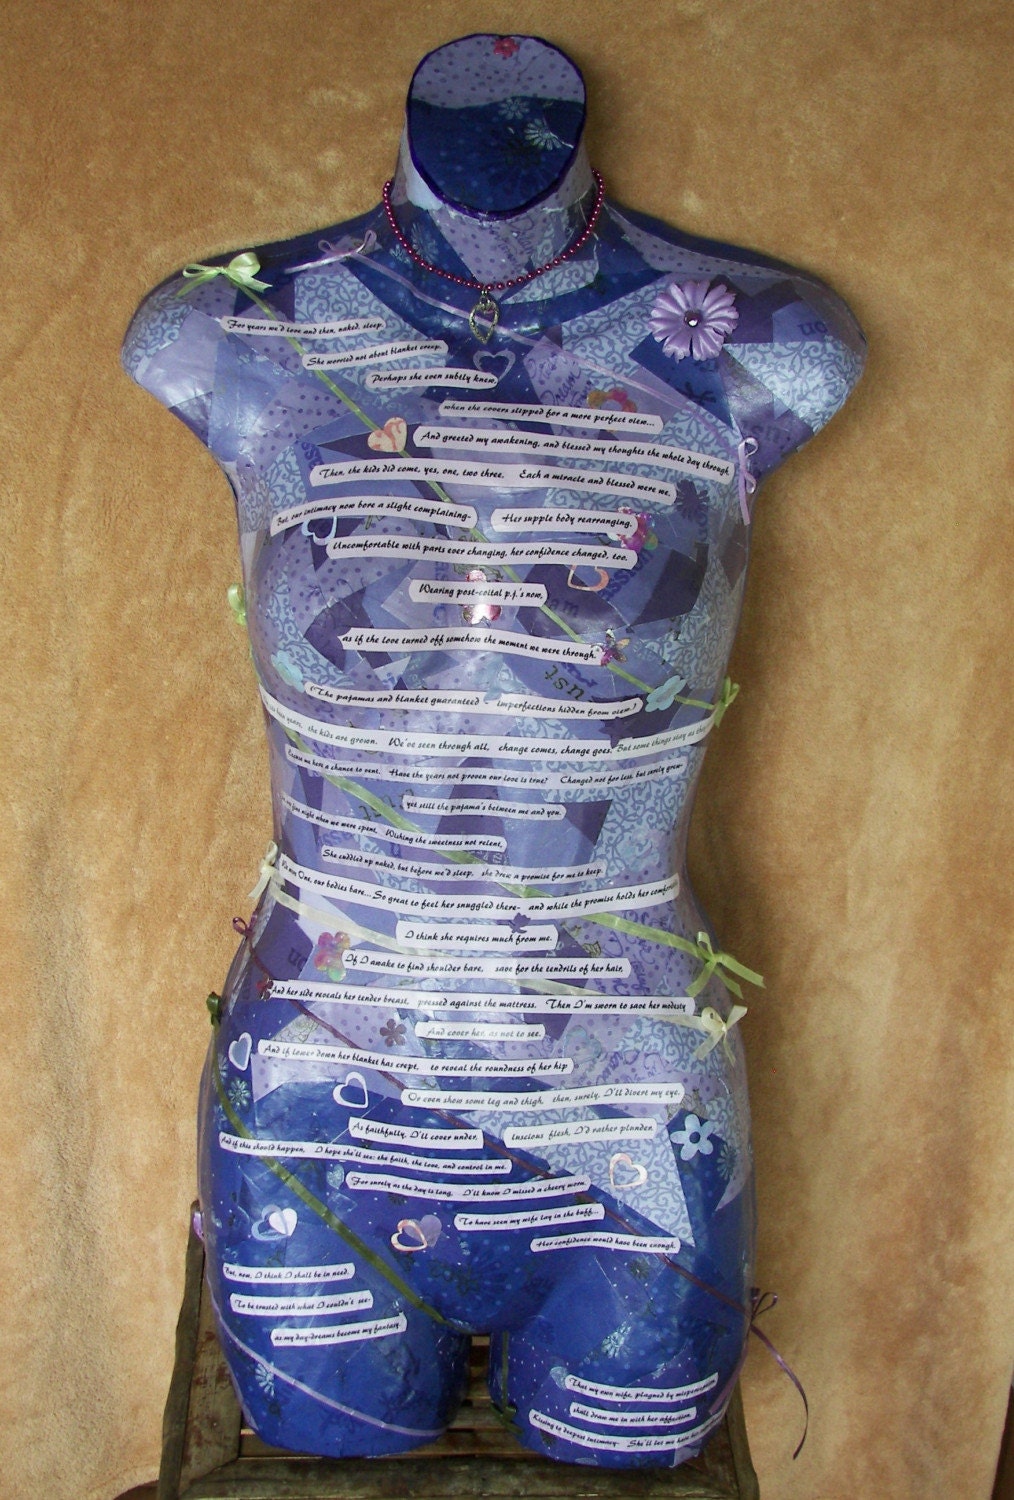
I saw these items by pieceofpicreationsas my original inspiration as I mentioned I had thought of doing a paper mache torso cast
Other ideas I found
Lotty Weingberg love these


Lotty Weingberg love these

And here's an article on life-size paper mache forms: Lesson Plan Life Size Paper Mache Forms


Paper Mache Tutorials
{found online}
Getting Started with Papier Mache
The basics you need to know to get started with this art form.
 Author: Jackie Hall
***********************************
Papier Mache Doll
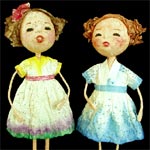
This delightful tutorial will give you invaluable help in making yourself a lovely papier mache doll.
- Author: Pun Hui Falkenhainer
****
My Recipe for Paper Mache Glue
I used 1 part water to 1 part flour
and a bit of salt to help prevent mold
Make sure to let each layer dry overnight or 24 hours before adding a new layer
*****
Do you want to go the pre-formed paper mache route?


13 comments:
WOW! So much juicey resources! What a treasure. What a pleasure to connect with you!
Wow, looks like you put your heart and soul into this...it's amazing! You should be very proud.
oh how cool. i love it and her pin is awesome! i just love how incorporated the form into the canvas like that!
way cool
this is so so gorgeous Julie Ann!!
What a gorgeous girl you made JulieAnn.
She's very purty!! great job.
Wow, you certainly put a lot of heart into this; she's fantastic!!
You are so talented !!!! I love her she is oh so cute!!! Thank you for the inspiration !!!! Hugs Jamie
wow, what great work!! i love how you did the hair.
Julie, what a great challenge. Is it ok to use paperclay?
Thanks a bunch for visiting my blog and when the book is complete you'll be the first to read it, lol.
Hugs
I understand that paperclay is paper mache, just instead of paper strips it is pulp!
Looking forward to your creations~
Yay!
What an amazing idea, I'm going to have a go at one of these.
This is amazingly beautiful and inspiring! Thanks!
JA...she is so darn artsy for sure. Hope you are well. I love peaking at your blog....you have so many inspiring ideas here.
Post a Comment