Home About Me Free Tutorials My Portfolio Categories Archives Contact Me
Showing posts with label mixed media. Show all posts

Friday, February 18

As Seen On the GingerScrapsStreet Blog - A Tutorial

How to Recycle and Alter Your Valentine Candy Boxes in 8 Steps!

Hi, it's Julie Ann bringing you a tutorial today on How to Recycle and Alter Your Valentine Candy Boxes! It's easy and fun, and good for the environment too!!! This appeared on the Scrapstreet Blog on Valentine's Day. These are inspired by Lisa Kettell.


SUPPLIES
To start, you need a few supplies:
  • heart-shaped candy box
  • liquid adhesive (I used gel matte medium, and I also really love Fabri-Tac by Beacon)
  • pop-dots adhesive
  • digi printables- vintage valentines vignettes: I Heart You by Tangie Baxter (Scrapbookgraphics)
  • pen or pencil (for tracing)
  • scissors (one with fine tip is preferable)
  • vintage music paper or patterned paper of your choice
  • crepe paper aka streamers
  • flowers
  • wing and jewel (Prima Marketing, Inc) *optional
  • glitter
  • silver pipe cleaner or garland
  • ribbon
  • hole puncher or Crop-A-Dile

TUTORIAL


1. Trace on wrong side of music sheet paper or patterned paper around the heart, and cut out. Adhere to the top of the heart lid.
2. Add adhesive around the edges of  the heart on the paper.

3. Gather and scrunch/pinch the crepe paper together as you adhere it to the edges of the heart. Go all the way around the heart in this manner.

4. Adhere silver pipe cleaner or silver garland in a heart shape over the edges of the crepe paper where it meets the music paper. I find Fabri-Tac adhesive works best.
5. Sprinkle vintage glass glitter over the project and it will adhere to the glue left over from the pipe cleaner.

6. Adhere the three cut-out digi printable hearts, overlapping, as shown above, using pop-dots for dimension.

7. Embellish with flowers, a wing on the angel, and a jewel at the bottom tip of the heart.

8. I punched two holes, one on each side, of the candy box - with my Crop-a-Dile (or you can use a hole puncher). Pull ribbon through and tie a knot. It's now ready for hanging when you put both sides of the candy box together!
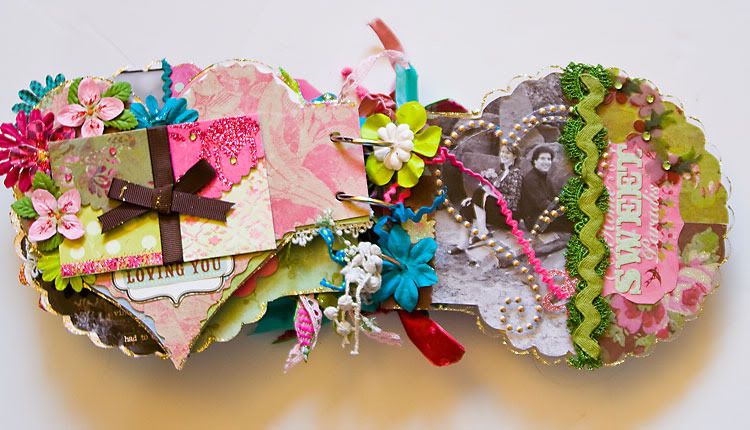
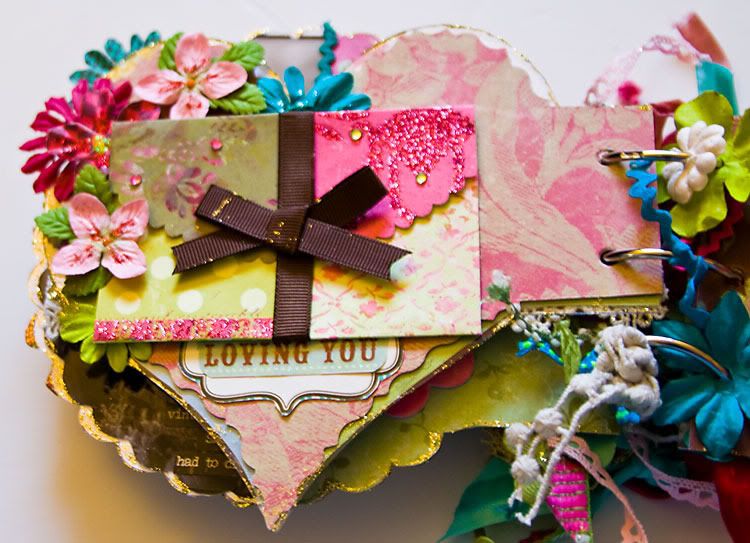
And here are a few others I've made this year for additional inspiration..........


Enjoy This Post?

Subscribe to My Blog with Google or with or with Bloglines


Photobucket

Tuesday, October 26

As Seen in Scrapbooking Page Maps 2 by Becky Fleck

As Seen in Chapter 4 of Scrapbook Page Maps 2: 
More Sketches for Creative Layouts and Cards 
by Becky Fleck, 
now available at Amazon 
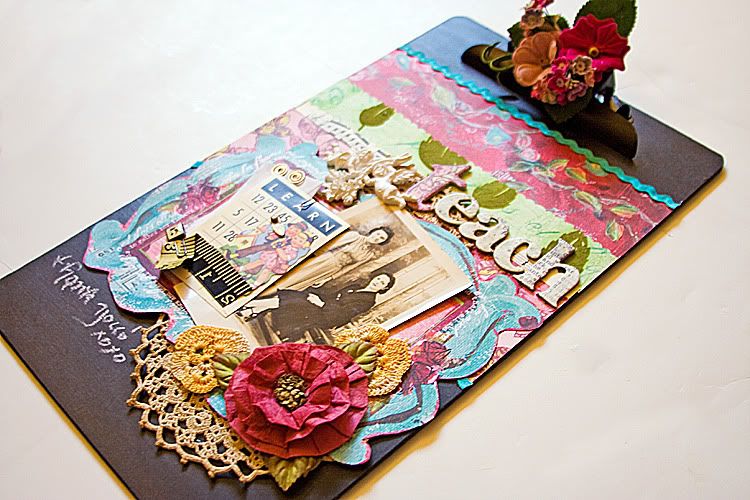
"A Teacher Gift" by Julie Ann Shahin

Vertical Page Map

"Us" Acrylic Mini Album by Julie Ann Shahin
Round Mini Map
Here are more pages not shown in the book...


Enjoy This Post?

Subscribe to My Blog with Google or with or with Bloglines


Monday, June 21

Introducing the For The Luv of Art Design Team!!!


Introducing For The Luv of Art Design Team!!!

I'm so thrilled to be able to finally share that Norma and Suzy asked me to be part of this team! Norma has amazing site put together, a kit club that you don't have to join to be a member of! plus digital and hybrid goodies! and a welcoming, drama-free forum and gallery!!!! Check it out if you are looking for a scrap home!

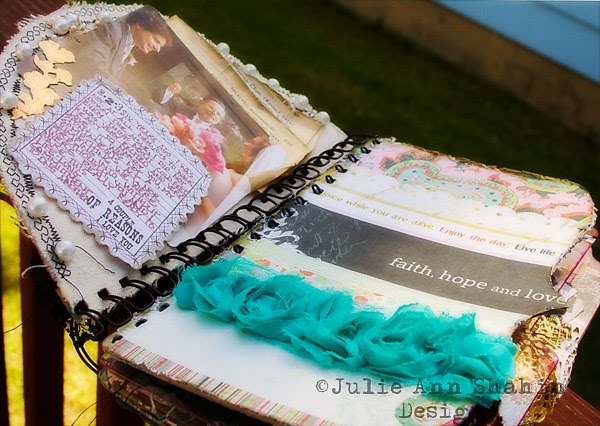
Here's my Punky Sprouts album I created with the June Kit from For the Luv of Art too:

I used the June kit plus some goodies from Norma's shop such as Webster's trim, Prima flowers, and a few things from my own stash.

I changed the order of the pages a bit! I misted the canvas with glimmer mist, and did some decorative stitching! The kit is perfect for our anniversary album!
Journaling: Six years ago I was not at all nervous to walk down the aisle, I did not even think about cold feet. I was very excited and very ready to marry you, my love. It was not a spontaneous act, nor something we were jumping into without forethought. You and I were really ready to make this life-long commitment to one another.


I love love love this stamp by Norma! It fits so perfect with the theme of my album too!


Here's how you measure up
12. You are handy <3
11. You take me to flea markets.
10. You get us passports.
9. You try your best at romance.
8. You can cook eggs.
7. You help me grocery-shop.
6. You help me clean the house.
5. You own up.
4. You're an awesome provider.
3. You take me on great vacations.
2. You bought me a dog.
1. You love and adore me.


 I really love this core cardstock! Sand it and the blue shows through!!! I also misted it with glimmermist.


June Kit " A View From The HeART" The Yellow Bag Kit Club


 "Time to Shop"
 
Enjoy This Post?

Subscribe to My Blog with Google or with or with Bloglines


Last Day For Weekly Challenge at For the Luv of Art


Last Day for Weekly Challenge At For the Luv of Art

(OOPS! I meant to get this posted last week, and I never finised this post! - Well, there is really no deadline - just a new challenge will be posted tomorrow is all, yet you can still catch up anytime to this challenge)

"6/15 Challenge: Welcome to my guest post challenge, invited by DT Leader Carrie - as she is/was away on vacation!

In honor of Damien's presence (Norma's husband) on our board at FTLOA , my challenge is kind of a fun twist on his "Man-slave" introduction. If you want use an alter-ego theme this week, go for it! (optional)"

The challenge?
Create a layout / card / hybrid item / or home decor project inspired by this "ad" (actually the cover) from an Anthropologie catalog:


Here is how I was inspired by the ad.
I had already torn out this outfit I loved from a magazine, and I especially loved her "foot pose." I liked the bold horizontal color bar along the bottom so I repeated that on my layout in blue. I also positioned my title in the same place. Then I got very whimsical with the background! Oh, and this is not so much my alter-ego unless you consider that in, the winter I'm a sort-of a couch-potato, so this is my active summer-self! haha


I hope you all play along with this week's challenge. Post a link to your completed page "here in this thread at For the Luv of Art" so we can all enjoy seeing what you created!

Have Fun!!! Heart U

Here's a few more details about my layout! I used a Prima patterned paper for the base. Then I cut a piece of paper almost 9x9 of green patterned paper that sat on vintage doilies (cut in halves). The third piece of patterned paper was the blue piece horizontally along the bottom of the green, which had the butterflies and florals, I cut away some of the blue patterned paper.
**********

I painted Glimmermist onto the butterflies and florals.  I also used Stickles on the green floral background.
**********

I cut words out of vintage books and inked the edges with vintage linen distress ink.

You all must check out this layout by Damien for the challenge;  this one by Sherry C; this by JessiW; this by Brianne; this by Adora; this by katie; and  this by ellen s. Who's next?


Enjoy This Post?

Subscribe to My Blog with Google or with or with Bloglines